Repaired With Staples And Duct Tape
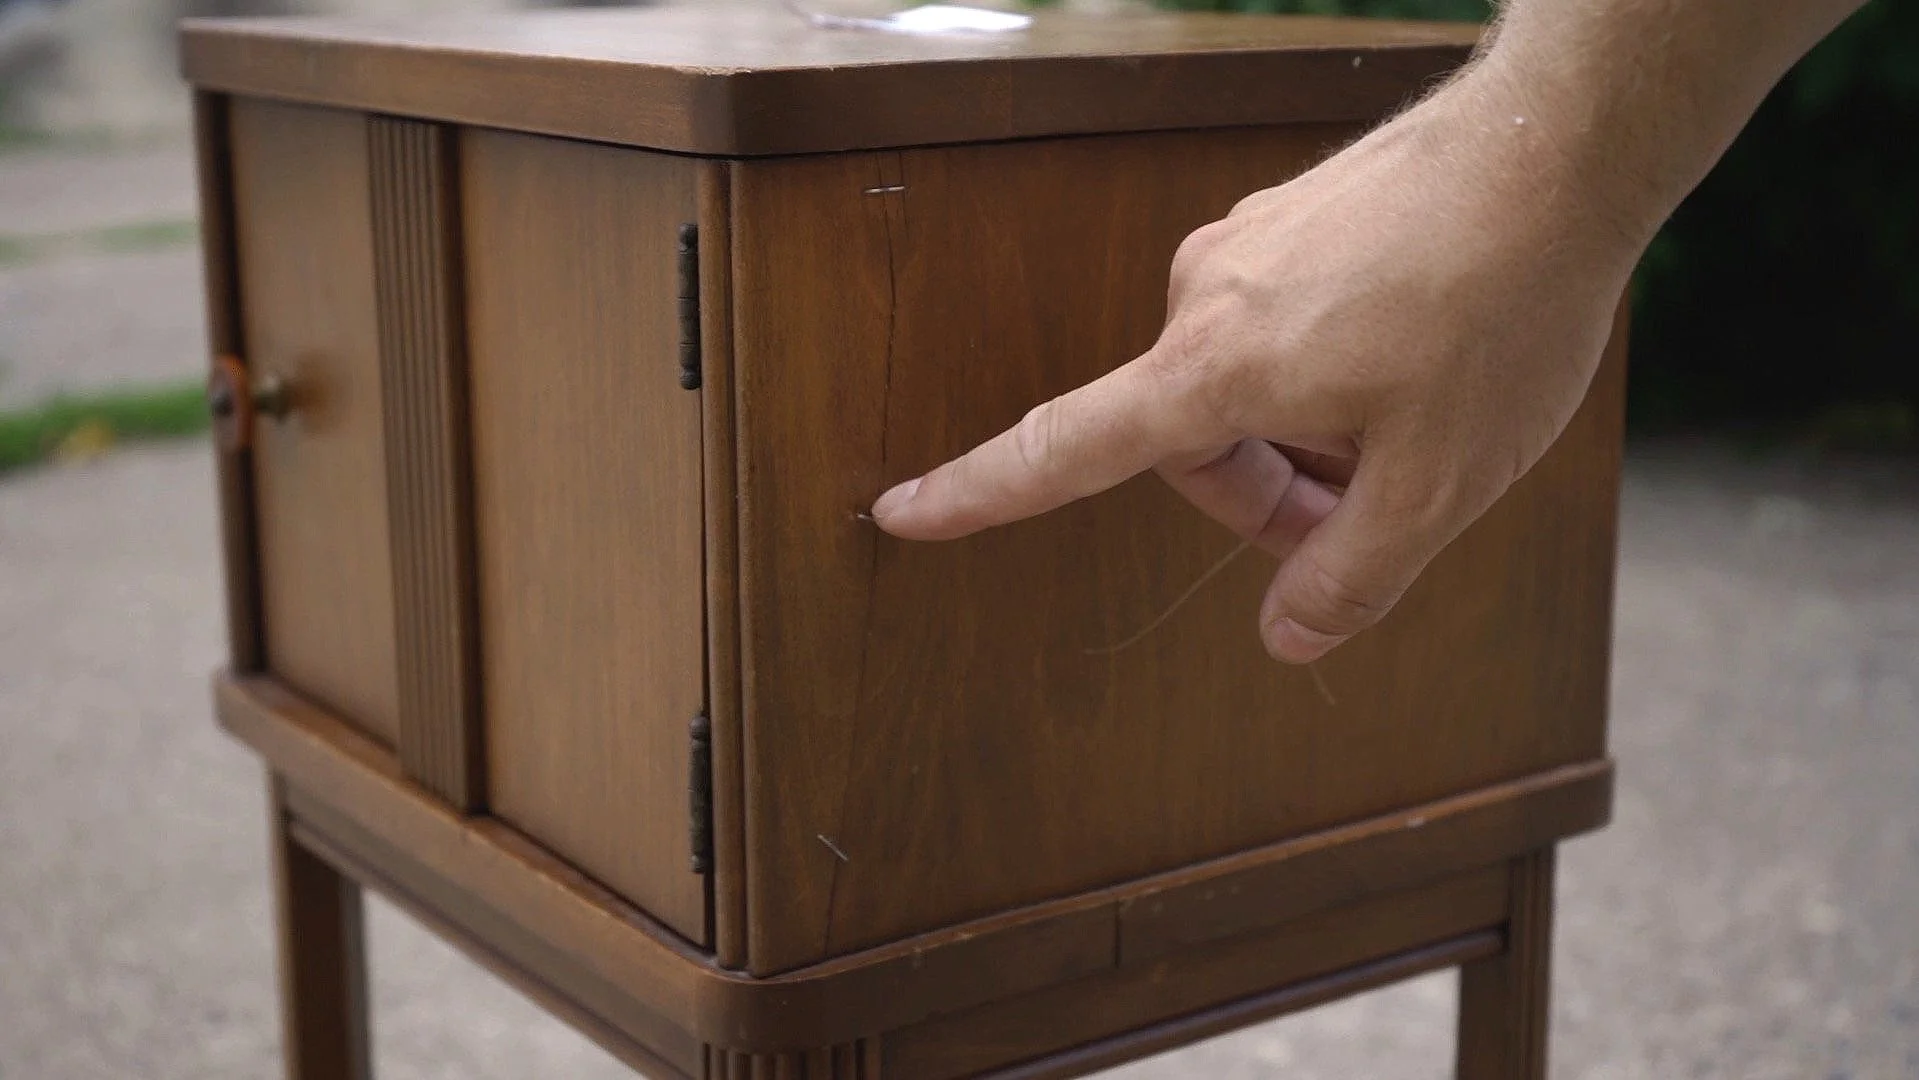
Finger pointing to staples in joint
I’ve seen a lot of interesting furniture repairs. Most often I’ll see loose legs repaired with a gaggle of nails driven into the joint. Or maybe a screw the size of a banana driven into a loose top. But this is the first time I’ve seen a crack repaired with staples and duct tape.
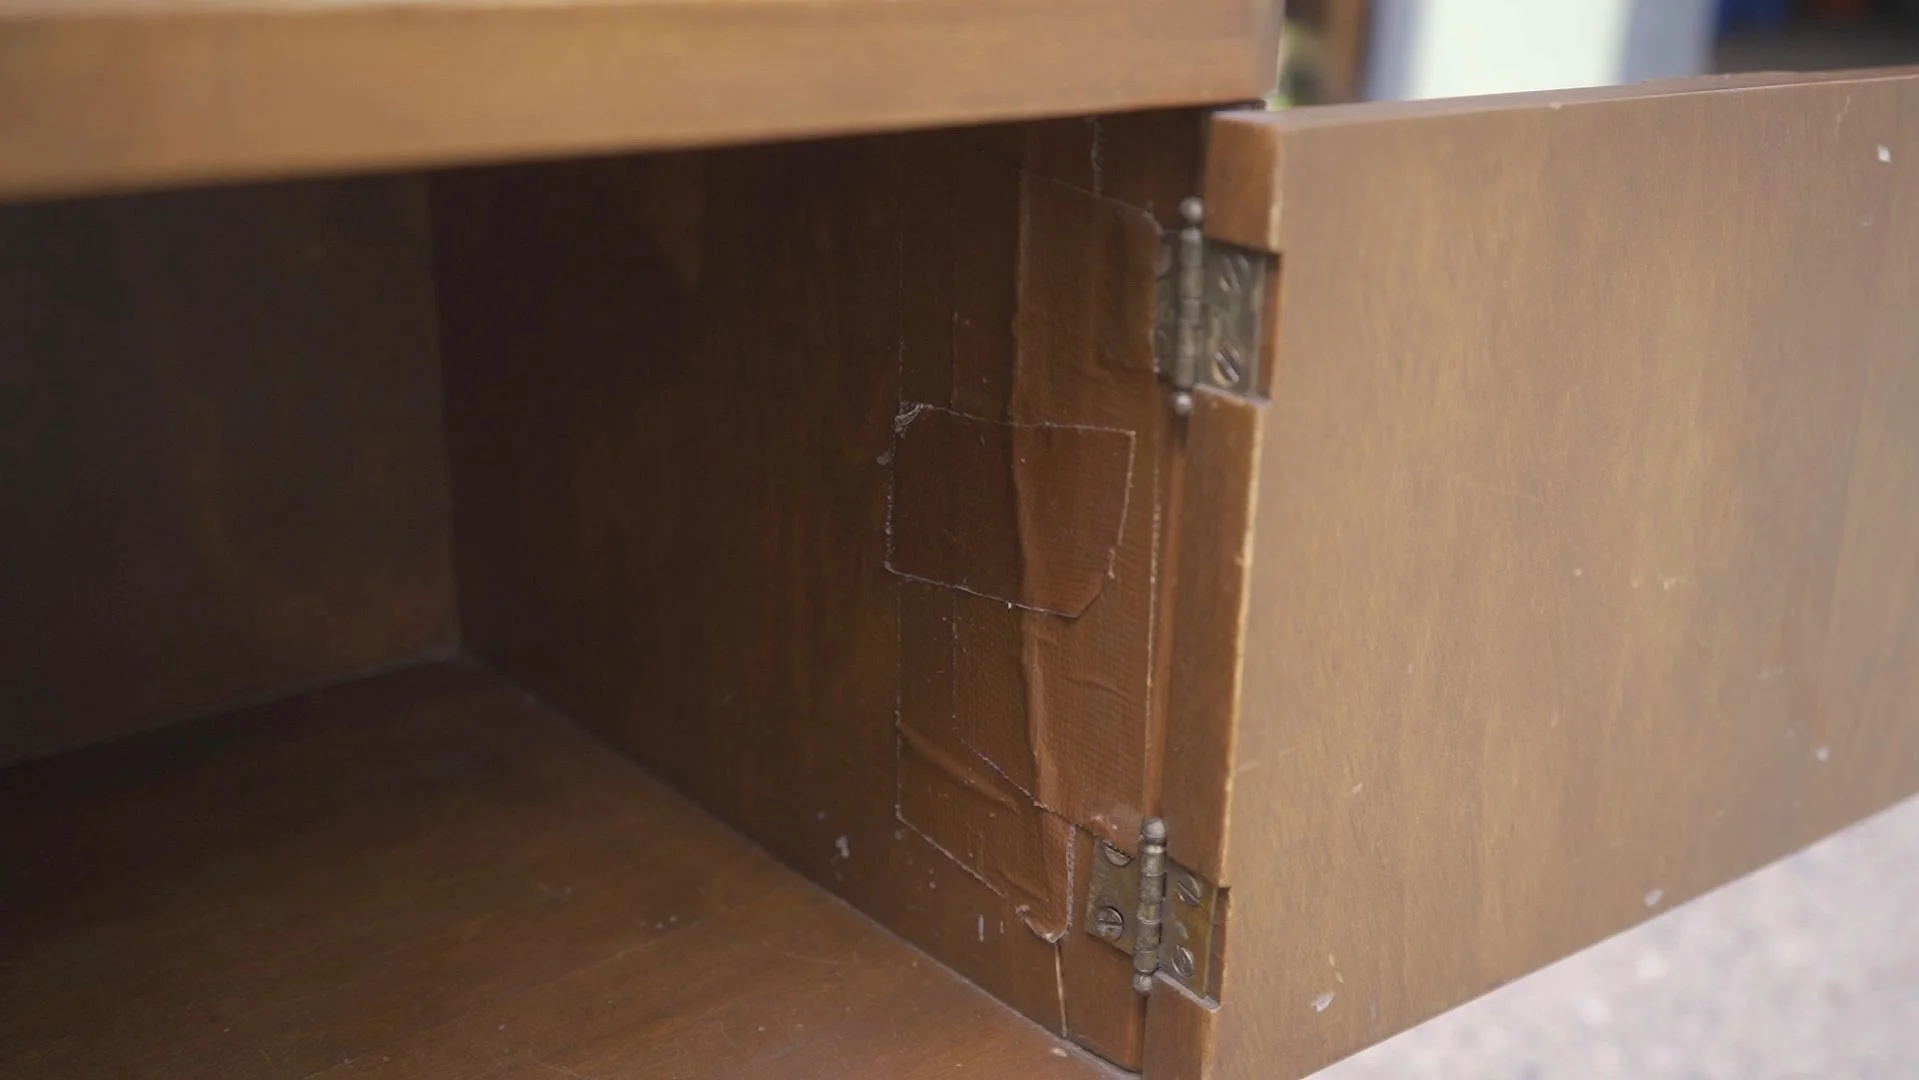
Duct tape on other side of crack
I’m not judging the person who did this. They did what they could with what they had and it did the trick for a while. But by the time I found this little cabinet it was in need of a complete teardown and rebuild. The crack was coming apart and all of the joints were loose. The finish was worn out and in need of a redo.

I started by disassembling the piece until I was left with just a pile of parts. This wan’t too hard as most of the joints were loose and ready to come apart anyway. Just a few taps with a rubber mallet and off they came.

Glueing the crack after removing the staples and duct tape
Next it was time to make any glue repairs that were needed. Whenever possible it’s a good idea to do your glue repairs you remove the old finish. This way you can remove any dried glue squeeze out when you remove the finish.

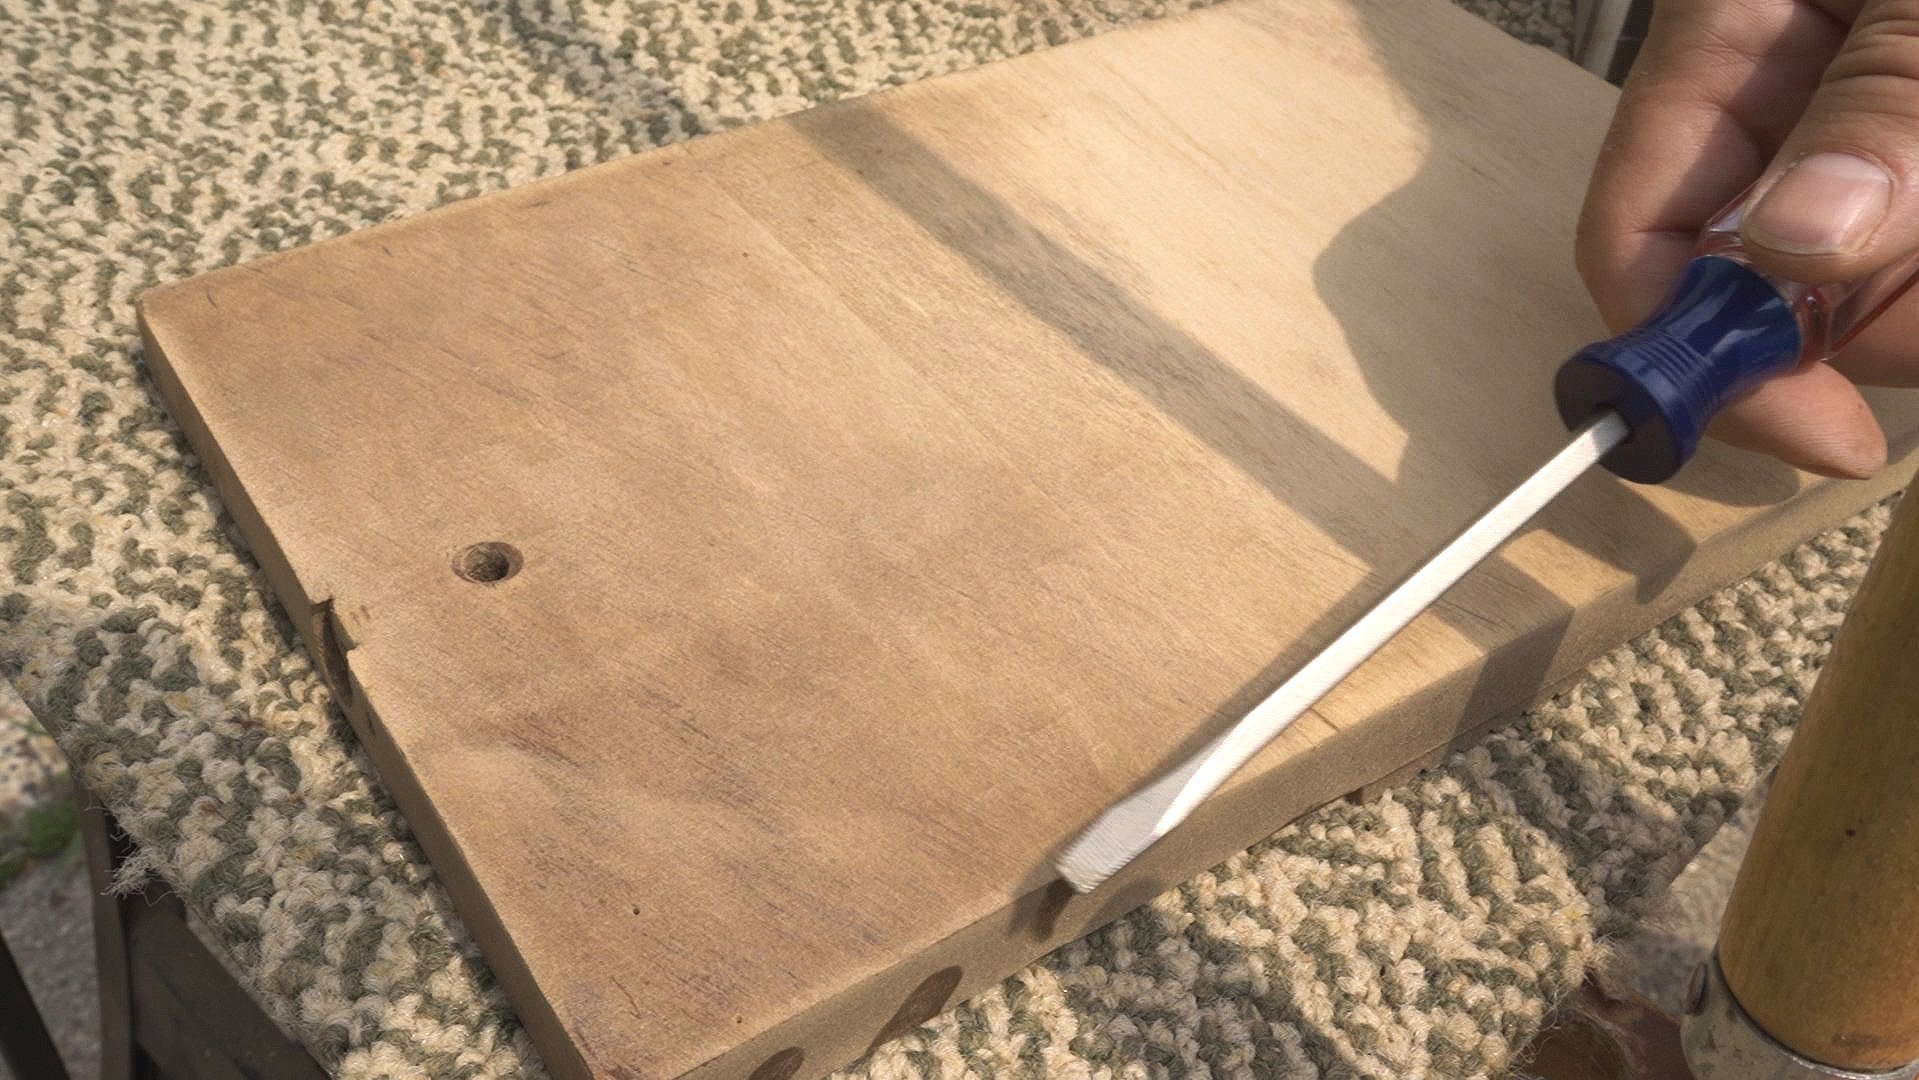
Scraping off the finish
Then it was time to remove the old finish. I used a combination of scrapers and a utility knife blade. Scraping is my preferred method of stripping these days. One reason for this is that I haven’t been able to find an effective chemical stripper. It’s also a cleaner method since there’s no stripper goop to clean up. After I scraped off the finish I gave it a light sanding.
The old veneer
Once I had the original finish off I was underwhelmed with the look of the veneer. It was very pale with little to no grain pattern on it. My guess is that it was probably poplar or a similar inexpensive wood. When it was originally manufactured the factory sprayed a brown finish on it to make it look more like walnut. At this point I had to decide if I wanted to try and color the wood a walnut color with stain or toner lacquer or just put a new veneer on it. I decided just to go with some nice new walnut veneer.

Applying the new walnut veneer
I went with PSA (peel & stick) veneer for this one. This type of veneer is relatively easy to use on small surfaces like this. You just peel off the backing and then stick it on. You do have to be sure to apply plenty of pressure to make a good strong bond.

Reassembling the cabinet
Once the new veneer was applied I could glue it all back together. This just required some glue and a whole bunch of clamps.

Applying the stain
Then it was time for stain. I used walnut stain on this one. It may seem redundant to use walnut stain on walnut veneer but I have my reasons. This new walnut veneer did not have the most attractive color on its own, in my opinion. It was a bit pale for my taste. The stain that I added warmed it up a bit. It added some of that orangey-red color that I see so much on old walnut furniture. I’m sure some people would have liked the pale look but it’s not my favorite.

Spraying lacquer topcoat
Once the stain dried I could apply the topcoat. For the topcoat I chose a clear satin lacquer. I waited until the lacquer was fully dried and then I added a finishing touch of some wax applied with #0000 steel wool.
See the video below for the full refinishing process. Thanks for watching.